

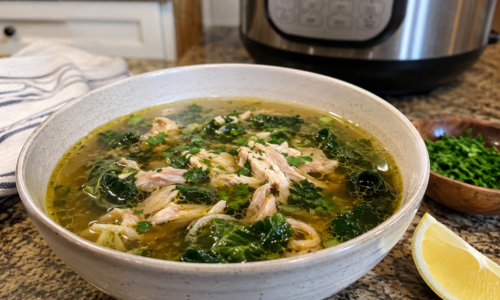
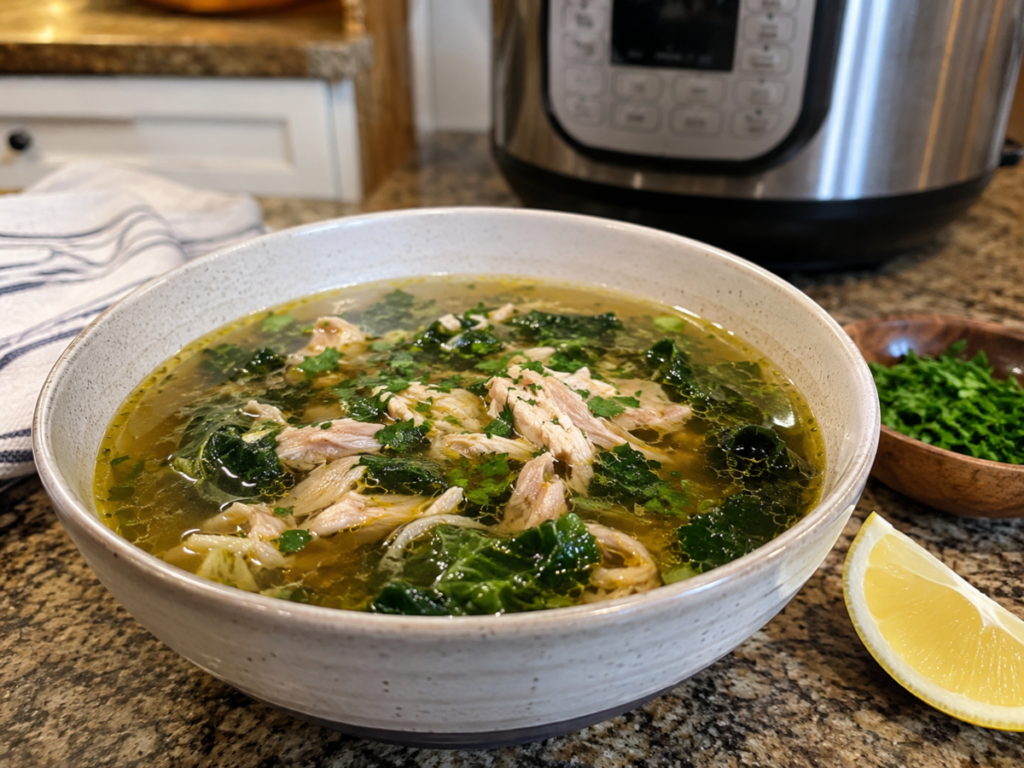
A pot of chicken soup has always carried a certain kind of promise. It suggests warmth, rest, and a meal that does not ask much from the person eating it. Traditional bone broth, however, often asks quite a bit from the cook. Recipes commonly call for simmering bones for twelve, eighteen, or even twenty-four hours.
That approach can work, but it is not the only way to produce a rich broth.
An electric pressure cooker shortens the process dramatically by trapping steam inside a sealed pot. As pressure rises, the boiling temperature of the liquid rises as well. The hotter cooking environment softens connective tissue, loosens meat from the bones, and draws flavor into the broth much faster than an open stockpot.
The result is a practical chicken soup with tender meat, softened vegetables, and a broth that often firms into a loose gel after refrigeration. It fits naturally into a low-lectin kitchen because it relies on simple animal protein, carefully selected vegetables, herbs, and a cooking method built around moist heat.
Why Pressure Cooking Works So Well for Broth
Chicken bones contain collagen-rich connective tissue. During moist cooking, some of that collagen breaks down into gelatin. Gelatin gives cooled broth its familiar jiggle and provides body when the broth is reheated.
Pressure cooking speeds this process by combining heat, moisture, and elevated pressure. A broth that might require much of the day on the stove can often be completed in about two hours, including the time needed for the cooker to build and release pressure.
This does not mean that every batch will become firm enough to cut with a spoon. Gel formation depends on the amount of connective tissue, the ratio of bones to water, and how much the broth is diluted. Wings, feet, necks, backs, skin, joints, and cartilage generally contribute more gelatin than plain breast bones.
Bone broth should still be treated as food, not as a medical treatment. Research confirms that broth can contain amino acids associated with collagen, but the amount varies widely from one preparation to another. One analysis found that homemade and commercially prepared bone broths did not provide consistent concentrations of collagen-related amino acids compared with standardized collagen supplements.
That does not make homemade broth worthless. It simply keeps the claims honest. Bone broth is a nourishing base for meals, a source of fluid and protein compounds, and an effective way to turn bones and vegetable scraps into something useful. It should not be sold as a guaranteed cure for joint pain, intestinal damage, or chronic disease.
Why This Soup Fits a Low-Lectin Approach
Chicken does not contain the plant lectins that receive most of the attention in low-lectin eating. The bigger decisions involve the vegetables, seasonings, thickeners, and packaged ingredients added to the pot.
Many conventional chicken soups contain noodles, corn, beans, peas, white potatoes, or seasoning blends with starches and sweeteners. None of those ingredients is necessary for a satisfying bowl.
This version uses celery, carrots, mushrooms, onion, garlic, and leafy greens. People following a stricter version of the lifestyle may choose to limit the carrots or onion because of their carbohydrate content or personal response. That is a tolerance decision rather than a universal rule.
Lectins are found throughout the plant kingdom, and exposure is not a simple yes-or-no issue. Their concentration, biological activity, portion size, food variety, and cooking method all matter. Legumes are among the richest common food sources of antinutritional compounds, including lectins, while many of these compounds are sensitive to heat.
This soup avoids the high-lectin ingredients most likely to concern a low-lectin reader. It also gives the cook control over every ingredient, which is harder to achieve with canned soup, bouillon cubes, or restaurant stock.
Start With the Right Chicken Pieces
A whole chicken can be used, but it is not always the best choice for bone broth soup. The breast meat may become drier than necessary during the longer pressure cycle needed to extract flavor from bones and joints.
A combination of bone-in thighs, wings, backs, necks, or a leftover roasted chicken carcass works better. Thighs provide moist meat for the finished soup. Wings, backs, and necks contribute skin, cartilage, and small joints that improve the broth’s body.
Pasture-raised chicken is a solid choice when it fits the budget. The label does not automatically guarantee a nutritionally perfect bird, but many readers prefer sourcing poultry from farms with stronger animal-welfare practices. A high-quality conventional chicken is still useful. Do not let an expensive label become the barrier that keeps homemade soup off the table.
Avoid heavily injected or pre-seasoned poultry when possible. Some packaged chicken contains added broth, sugar, flavor enhancers, or large amounts of sodium. Read the ingredient panel rather than relying only on the front label.
Pressure-Cooked Chicken Bone Broth Soup Recipe
Servings: 6 generous bowls
Prep time: 20 minutes
Pressure cook time: 60 minutes
Natural release time: 25 to 30 minutes
Finishing time: 15 minutes
Total cook time: About 1 hour 45 minutes, plus pressure-building time
Ingredients
- 2 pounds bone-in, skin-on chicken thighs
- 1 pound chicken wings, backs, necks, or a combination
- 8 cups filtered water, or enough to remain below the cooker’s maximum fill line
- 2 medium carrots, cut into large pieces
- 3 celery stalks, cut into large pieces
- 1 small yellow onion, quartered
- 4 garlic cloves, lightly crushed
- 4 ounces mushrooms, halved
- 2 bay leaves
- 1 teaspoon dried thyme
- 1 teaspoon sea salt, plus more after cooking
- 1/2 teaspoon ground black pepper
- 1 tablespoon apple cider vinegar, optional
- 2 cups chopped kale, Swiss chard, or spinach
- 2 tablespoons chopped fresh parsley
- 1 tablespoon extra-virgin olive oil, optional for serving
- Fresh lemon juice, optional for serving
Equipment
- 6-quart or larger electric pressure cooker
- Fine-mesh strainer
- Large bowl
- Tongs
- Cutting board
- Food thermometer
Directions
Preparing the First Pressure Cook
- Place the chicken thighs and the extra bony pieces in the pressure cooker. Add the carrots, celery, onion, garlic, mushrooms, bay leaves, thyme, salt, pepper, and apple cider vinegar.
- Pour in the water. Do not exceed the maximum pressure-cooking fill line marked inside the pot. Soup expands and foams during cooking, so that line is a safety boundary, not a suggestion.
- The vinegar is optional. A small amount adds mild acidity and may help draw some minerals into the liquid, but more vinegar does not automatically produce a better broth. Too much can leave the soup sharp and unpleasant. One tablespoon is enough for this volume.
- Lock the lid and set the valve to the sealed position. Cook on high pressure for 60 minutes.
- Once the cycle finishes, allow the pressure to release naturally for 25 to 30 minutes. A natural release is better than immediately opening the valve because the liquid is extremely hot and may surge or sputter through the steam vent.
- After the pressure indicator drops, carefully release any remaining pressure according to the manufacturer’s instructions.
Turning the Broth Into Soup
- Lift the chicken pieces from the pot with tongs and place them on a clean cutting board. Check the thickest pieces with a food thermometer. Poultry should reach a minimum internal temperature of 165°F, or 74°C.
- Pressure-cooked thighs will usually be far above that temperature after a 60-minute cycle, but checking removes guesswork.
- Strain the broth through a fine-mesh strainer into a large bowl. Press gently on the vegetables to release some liquid, then discard the spent vegetables, bones, bay leaves, and skin. Those vegetables have given most of their flavor to the broth and will usually be too soft to make the finished soup appealing. Return the strained broth to the pressure cooker.
- When the chicken is cool enough to handle, remove the usable meat from the bones. Shred or chop it into bite-size pieces. Carefully check for small bones, especially when using necks, backs, or wings. Add the chicken meat back to the broth. Switch the cooker to its sauté setting and bring the soup to a gentle simmer. Add the chopped kale or Swiss chard and cook for 5 to 8 minutes. Spinach only needs 2 to 3 minutes.
- Stir in the fresh parsley. Taste before adding more salt. The broth may taste mild at first, then become noticeably saltier as it cools or if it is reduced during reheating. Finish each bowl with a small drizzle of olive oil or a squeeze of lemon juice if desired.
Why the Vegetables Are Cooked in Two Stages
The first group of vegetables exists mainly to flavor the broth. After an hour under pressure, carrots, celery, onion, garlic, and mushrooms become extremely soft. Leaving them in the final soup can create a muddy texture. Straining them out produces a cleaner broth.
The leafy greens go in after pressure cooking because they need very little heat. This keeps their color fresher and prevents them from dissolving into the liquid. A second batch of sliced mushrooms, celery, or carrots can also be added during the finishing stage when a chunkier soup is preferred.
For firmer vegetables, simmer them in the strained broth until tender before returning the chicken meat to the pot. Thin carrot slices may need 8 to 10 minutes. Celery may need 6 to 8 minutes. Mushrooms usually soften in about 5 minutes.
The Gel Test Is Not a Nutrition Score
Cooled broth may become firm, softly jelled, or remain completely liquid. All three outcomes can produce a good soup. A broth that gels usually contains a higher concentration of gelatin. It does not prove that the soup contains a specific amount of collagen, minerals, or protein. Water volume has a major effect. Eight cups of water poured over a small carcass will produce a thinner broth than six cups of water cooked with several wings, necks, and joint-heavy pieces.
Reducing the strained broth on the sauté setting will concentrate it. Simmer uncovered for 10 to 20 minutes, then cool a spoonful to check the texture. Reduction also concentrates salt, so final seasoning should wait until the broth reaches the desired strength.
Chicken feet create an especially gelatin-rich broth, but they require proper cleaning and may not appeal to every cook. Wings are the easier compromise. They are widely available, inexpensive compared with many cuts, and rich in skin and connective tissue.
Adjusting the Recipe for Individual Tolerance
A low-lectin lifestyle works better when it leaves room for personal observation. One reader may handle cooked onion without trouble while another may prefer garlic-infused oil. Someone managing blood sugar may reduce the carrots. A person sensitive to mushrooms can leave them out and add more celery or herbs. The recipe can be modified without losing its basic structure.
For a richer soup, add more wings or necks. For more meat, increase the number of thighs. For a lighter broth, chill it and remove the hardened fat from the surface. For a higher-fat meal, leave part of that fat in place.
Avoid adding raw beans directly to a chicken broth recipe simply because the cooker is already running. Beans require variety-specific soaking, water ratios, cooking times, and safety handling. Kidney beans deserve special care because inadequately cooked beans can retain active phytohaemagglutinin. A chicken soup recipe is not the right place to improvise with them.
Cauliflower florets can be added after pressure cooking and simmered until tender. Shredded cabbage also works well. Small pieces of peeled sweet potato may suit a more flexible low-lectin plan, though portion size and individual response still matter.
Common Pressure-Cooker Mistakes
Overfilling is the biggest avoidable problem. The pot needs empty space for steam, expansion, and safe pressure control. Follow the fill limits printed inside the cooker and the instructions supplied with the specific model. Quick-releasing a full pot of broth is another bad habit. Hot liquid can foam upward and escape through the valve. A natural release is slower, but it is far less messy.
Adding too much water weakens the broth. The chicken and vegetables do not need to float in a giant pot. Begin with enough water to cover most of the ingredients while remaining below the fill line. More water can be added after cooking.
Salt can also get out of hand. Bones, meat, and vegetables create flavor, but broth often needs less salt than expected during the first stage. Season lightly before pressure cooking, then adjust after straining and reducing.
Storing and Reheating the Soup Safely
Divide the finished soup into shallow containers so it cools more quickly. Refrigerate it within two hours of cooking. USDA guidance lists cooked chicken broth and gravy at approximately three to four days in the refrigerator and two to three months in the freezer. A layer of fat may harden across the top after chilling. It can be removed, partially removed, or stirred back into the soup during reheating.
Reheat only the amount needed. Bring it to a full simmer on the stove or use the pressure cooker’s sauté function, stirring occasionally so the chicken heats evenly. Frozen soup can be thawed overnight in the refrigerator, then reheated until steaming hot throughout.